
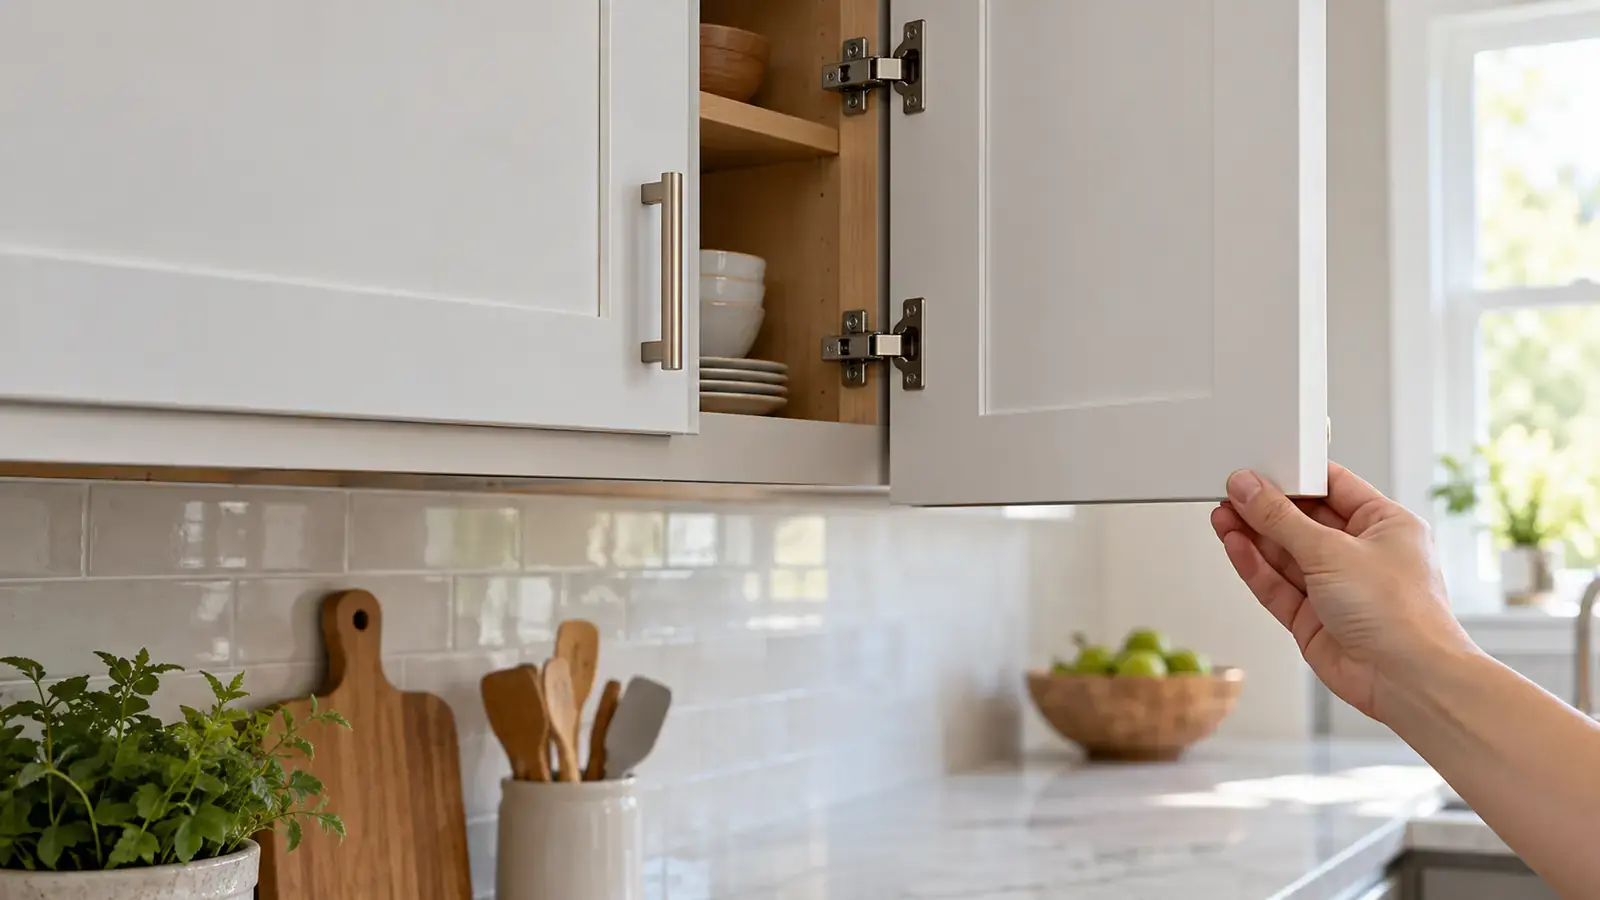
Cabinet Door Sagging? Read the Gap Before Adjusting the Hinge

A cabinet door that sags, rubs, or closes unevenly usually points to one of three things: hardware that is loose, material that no longer holds the hardware securely, or an adjustable concealed hinge that has moved out of alignment. Start by supporting the door and watching which part moves. Do not begin by turning every visible screw.
Stop and get help: Do not keep adjusting if the door is heavy or glass, the hinge or mounting plate is bent, the wood or composite panel is split, a screw spins without tightening, or the door is pulling away from the cabinet. Clear breakable items from below, keep children and pets away, and support the door before touching the hardware.
Quick diagnosis
The whole door wobbles when lightly supported: identify which hinge cup, arm, or mounting plate is moving before tightening anything.
The hardware feels solid but the gaps are uneven: the hinge may need model-specific side, height, or depth adjustment.
A screw turns without becoming snug: stop. The material or fastener may be damaged, and more turning can make the repair harder.
Several doors changed at once or the cabinet box is loose: the problem may be cabinet installation or structure rather than one hinge.
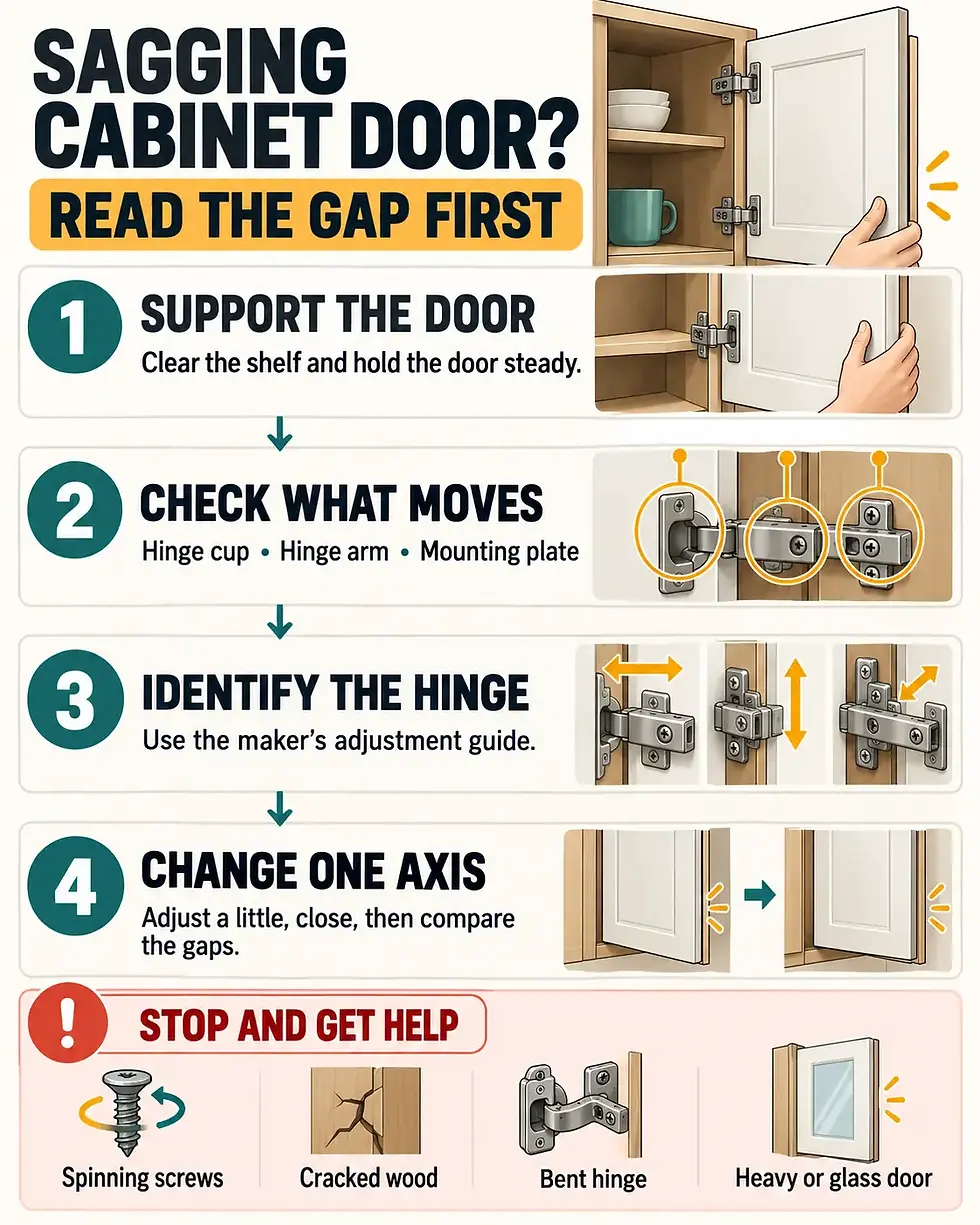
1. Support the door before you inspect it
Empty the shelf near the hinges and remove anything fragile from the counter or floor below. Open the door only as far as needed, then support its lower outer corner so its weight is not pulling on the hardware while you inspect it. Do not hang on the door or use it as leverage.
With the door supported, lightly check the hinge cup attached to the door, the hinge arm, and the mounting plate attached to the cabinet. You are looking for visible movement, a gap around a screw head, a bent component, or cracked material—not trying to force the door back into position.
2. Identify the hinge before choosing a screw
Concealed cabinet hinges can look similar while using different attachment and adjustment layouts. Look for a maker name or part number on the hinge arm or cup, then find the instructions for that exact hinge or cabinet system.
For example, IKEA describes its UTRUSTA 95-degree hinge as adjustable in height, depth, and width, but that does not make its screw layout universal. IKEA’s support guidance tells owners to use the installation instructions for their specific hinge to identify the correct screws. Blum likewise publishes model-specific CLIP top attachment and adjustment documents. Use those sources as examples of why identification comes first—not as instructions for an unknown hinge.
3. Decide whether the problem is looseness or alignment
Movement at the hinge cup: stop if the cup is lifting from the door, the surrounding material is cracked, or a fastener spins. A secure repair may require the correct replacement hardware or professional cabinet repair.
Movement at the mounting plate: support the door and consult the hinge or cabinet instructions. Do not overtighten into particleboard or damaged material.
No movement, but the door sits low or the reveal is uneven: use only the adjustment axis shown in the matching manufacturer guide.
The door face sits too far in or out: this may be a depth-setting issue on an adjustable concealed hinge, but confirm the model before changing it.
4. Read the gap pattern
Close the door gently and compare the gap at the top, bottom, hinge side, and handle side. Also check whether the door face sits flush with neighboring doors. The pattern is more useful than the word “sagging.”
Top gap narrow on one side and bottom gap narrow on the opposite side: the door is tilted relative to the cabinet.
Door is evenly low or high: a height adjustment or mounting-position issue may be involved.
Door rubs the neighboring door along most of its edge: side-to-side spacing may be off.
Door closes but sits proud or too deep: depth may be the relevant axis.
Gaps change when the cabinet is loaded or the box shifts: stop adjusting the hinge and have the cabinet installation checked.
5. Make one controlled adjustment
Confirm the hinge model and open its current manufacturer instructions.
Support the door and note the original screw position before changing anything.
Choose only the adjustment screw and axis that match the gap pattern.
Make a small change, remove the screwdriver, close the door gently, and compare all gaps again.
Repeat only while the hardware remains secure and the manufacturer’s guide clearly supports the adjustment.
Do not use a power driver for fine alignment unless the hardware maker explicitly calls for it. Do not force a screw that resists, mix random replacement screws, drill new holes near a damaged hinge cup, or keep tightening after the fastener stops holding.
What the result tells you
The door aligns and stays aligned: the hinge setting was likely contributing. Recheck after normal use.
The gap improves but returns quickly: the mounting hardware or cabinet material may not be holding securely.
One axis improves while another gets worse: return to the original position if possible and re-check the hinge guide rather than adjusting several screws at once.
The door still rubs with secure hardware: the door, cabinet box, or installation may be out of square, swollen, or damaged.
When adjustment is not the fix
Arrange cabinet or furniture service when screws spin, the hinge cup is loose in the door, the mounting plate has pulled from the cabinet, the door panel is cracked or swollen, the hinge is bent, or the cabinet itself moves. Heavy, mirrored, or glass doors deserve extra caution because a falling panel can cause serious injury.
This guide is for cabinet doors. If a full-size exterior door rubs or will not latch, follow Exterior Door Won’t Latch? Check the Alignment Before You Adjust the Lock instead; the hardware, loads, and safety considerations are different.
Official sources
For more practical home-maintenance guides, browse DIY & Home Tips.
Comments