

Cold Air Coming Under an Exterior Door? Check the Sweep First

Cold air coming under a closed exterior door usually means the door sweep is worn, the threshold is not making even contact, or the door is sitting slightly out of square. Start with the door fully closed and latched, then use a light tissue strip to find where air is actually entering. Do not add caulk or adjust the threshold until you know whether the gap is at the center, a corner, the full width, or the side of the door.
Stop and call a professional first if you see these signs
The door is an emergency exit but will not close, latch, lock, or open normally. Do not block it with a draft stopper.
Glass is cracked, loose, or moving in the door, or the frame has shifted suddenly.
Water is entering, the threshold or subfloor feels soft, wood is rotten, or finishes are swollen or stained.
The door is fire-rated, part of a rated garage-to-house opening, or has labeled hardware that should not be altered.
Correcting the gap would require cutting or planing the door, removing the threshold, disturbing flashing, opening the wall, or changing structural framing.
This guide is limited to observation, gentle cleaning of accessible surfaces, a tissue test, and choosing the correct manufacturer-approved sweep or weatherstripping after the leak is identified. It does not cover dismantling the door, removing glass, bypassing locks or closers, altering a fire-rated assembly, or hiding water damage.
The quick answer: find the exact leak pattern
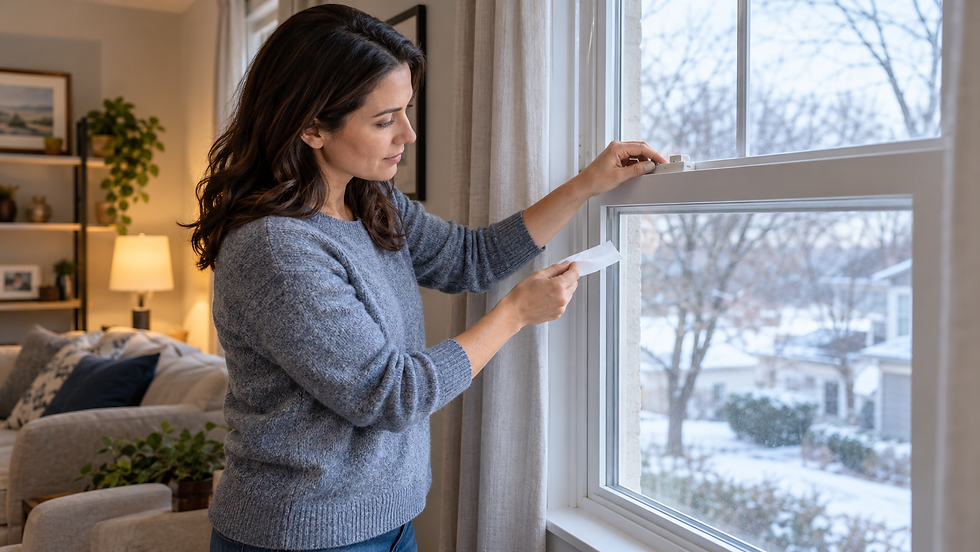
On a cool or windy day, close and latch the door normally. Hold a narrow tissue strip near the bottom edge without pushing it into the sweep. Move from the hinge-side corner to the center and then to the latch-side corner. A repeatable flutter at one location is more useful than a general cold feeling near the floor.
Air mainly at the center: the sweep may be worn, shortened, curled, or no longer contacting the threshold.
Air mainly at one corner: weatherstripping compression or door alignment may be uneven.
Air across the full width: the sweep may not match the threshold, or the threshold-to-door contact may be too low.
Air at the side or top: the problem is more likely perimeter weatherstripping or a door that is not latching square.

1. Clear the accessible contact area
Open the door only if it moves and latches normally. Remove loose grit, leaves, pet hair, or a folded entry mat from the accessible threshold and sweep contact area. Use a dry cloth or a lightly damp cloth, then let the surface dry. Debris can hold a flexible sweep away from the threshold and can also make a good seal look damaged.
Do not pry up threshold caps, remove fasteners, or insert tools under the threshold. Do not cover drainage paths or weep openings. If water or staining is present, stop and treat it as a moisture problem before attempting an air-sealing repair.
2. Confirm that the door closes and latches normally
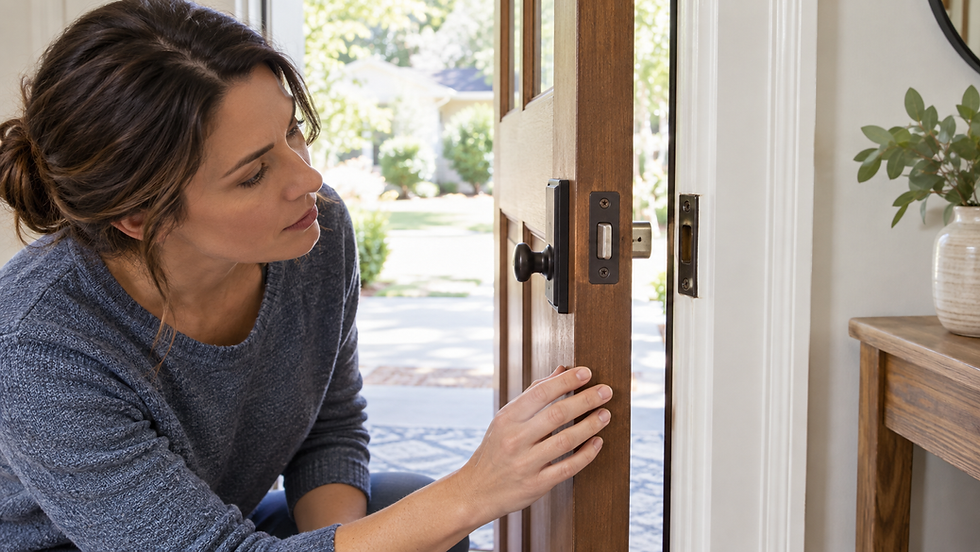
Close the door at a normal speed and engage the latch without lifting, pushing, or slamming. Look at the reveal—the visible gap between the door and frame—on both sides and across the top. A noticeably uneven reveal, a latch that needs force, or fresh rubbing marks can mean the door is out of alignment rather than simply missing a seal.
If the door will not latch or close normally, use the separate guide Exterior Door Won't Latch or Close Properly: What to Check. Do not grind the strike plate, bend hinges, stack shims, or drive longer screws into unknown framing as a quick fix. Those steps can affect security, egress, and door alignment.
3. Locate the airflow without a flame
With the door closed and latched, hold the tissue close to the bottom edge at several points. Repeat the test along the latch side, hinge side, and top. Keep your hand still for a few seconds at each location. A consistent pull or flutter shows where outdoor air is crossing the seal.
Never use a candle, match, incense stick, or improvised smoke source to find a draft. Open flames create fire risk near curtains, rugs, weatherstripping, and finishes. Smoke can also create an indoor-air problem. A tissue strip or a professional draft detector is a safer way to compare locations.
4. Inspect the sweep and threshold without removing them
From the inside, look for a sweep that is torn, brittle, curled, missing a section, painted stiff, or visibly short of the threshold. Check whether contact is even across the width when the door is closed. On some doors the sweep is part of a removable bottom assembly; on others it is model-specific or integrated into the door.
Do not assume a thicker sweep is better. If the replacement is too thick, the door may not latch or may drag hard enough to damage the threshold. If it is too thin, the draft remains. Match the profile, width, mounting method, and door material to the door manufacturer’s instructions whenever those instructions are available.
5. Read the pattern before choosing the next step
Draft at the center
A center-only leak often points to a sweep that has worn or curled, or to a threshold that is lower in the middle. Confirm that the door closes normally and that debris is not holding the sweep up. If the sweep is visibly damaged and manufacturer-accessible, identify the exact replacement profile before removing anything.
Draft at one bottom corner
A corner leak can happen when the door is not compressing the perimeter weatherstripping evenly. Compare the latch action and the reveal on both sides. If the door must be lifted or pushed to latch, treat alignment as the primary problem. Replacing only the sweep may hide the symptom without restoring safe operation.
Draft across the full width
A full-width leak can mean the sweep does not reach the threshold or the two parts are not compatible. Some adjustable thresholds have model-specific limits and instructions, but raising one too far can make the door bind, create a trip edge, damage the seal, or prevent latching. Use the product manual or a door professional rather than guessing at an adjustment.
Draft at the side or top
Weatherstripping belongs at joints that move or press together. Look for material that is torn, flattened, folded, loose, or no longer contacting the door. Do not fill a moving joint with permanent caulk. If the issue feels more like a room-wide leak, compare it with the guide Draft Coming Through a Closed Window? Find the Leak First.
Weatherstripping and caulk do different jobs
Use weatherstripping on movable contact surfaces, such as the door perimeter and sweep. Use caulk only on stationary joints that are meant to be sealed, such as an obvious dry gap between fixed trim and the wall. The U.S. Department of Energy specifically distinguishes weatherstripping for moving components from caulk for fixed gaps.
Before sealing any fixed joint, confirm that the materials are dry and sound and that the opening is not part of a drainage path. Do not caulk over soft wood, wet materials, active staining, flashing exits, or a moving seam. Follow the sealant maker’s instructions for compatible materials, surface preparation, temperature, and cure time.
Temporary draft blockers: useful, but not a repair
A removable door snake can reduce comfort complaints for a short time on a door that still opens, closes, latches, and locks normally. It should never block an emergency exit, interfere with a wheelchair-accessible threshold, trap moisture, or be left where it creates a trip hazard. Remove it before operating the door.
Plastic film, tape across the bottom edge, towels packed into the threshold, and permanent caulk on the moving joint are poor substitutes for diagnosing the seal. They can hide water, collect dirt, damage finishes, or keep the door from operating correctly.
When a home energy assessment helps
If you feel drafts at several doors or windows, the leak is hard to locate, or energy use remains high after obvious accessible gaps are addressed, a professional home energy assessment can be more useful than replacing parts one at a time. A qualified assessor can use diagnostic equipment to measure leakage and identify larger air-sealing priorities.
What to check after any low-risk repair
The door opens, closes, latches, and locks with the same normal effort as before.
The sweep contacts the threshold without folding, tearing, or dragging heavily.
No daylight or tissue flutter remains at the original leak location.
The threshold is dry, firm, and free of active staining or water entry.
The exit path is clear and no added material creates a trip hazard.
If any of those checks fail, remove the temporary material if it can be removed safely and stop. A draft reduction is not successful if it compromises security, egress, drainage, or normal door operation.
Frequently asked questions
Does daylight under the door always mean the sweep is bad?
Not always. Daylight can come from a worn sweep, an incompatible threshold, uneven contact, or a door that is out of square. Close and latch the door normally, compare the leak pattern, and check operation before selecting a replacement part.
Can I caulk the bottom of the door?
Do not caulk the moving joint between the door bottom and threshold. That joint must operate. Caulk may be appropriate only at a dry, stationary construction joint that is meant to be sealed and is not a drainage path.
Should I raise an adjustable threshold?
Only if the door or threshold manufacturer provides an accessible adjustment procedure and the door still operates normally afterward. Stop if the door binds, will not latch, or the adjustment exposes damage. A professional is safer when the product cannot be identified or the threshold may need removal.
Where can I find more low-risk door and home checks?
Browse the DIY & Home Tips guides for observation-first troubleshooting that separates safe homeowner checks from work that needs a qualified professional.
Sources
U.S. Department of Energy Building Science Education: Install Weatherstripping on an Exterior Door (June 2024 job aid).
U.S. Department of Energy: Consumer Guide to Air Sealing the Home.
ENERGY STAR: Locating Air Leaks.
Comments