
Garbage Disposal Runs but the Sink Won’t Drain? Follow the Water, Not the Motor

If the garbage disposal sounds normal but water stays in the sink, the most likely problem is a clog in the drain line after the disposer—not a failed motor. First, stop adding water and check whether the level is safely below the rim, the cabinet below is dry, and there is no burning smell, smoke, sparking, or unusual metal noise. If those checks pass, one brief manufacturer-supported observation can separate a drain clog from a jam or power fault. The next action depends on what the water and motor do together.
The three-way diagnosis
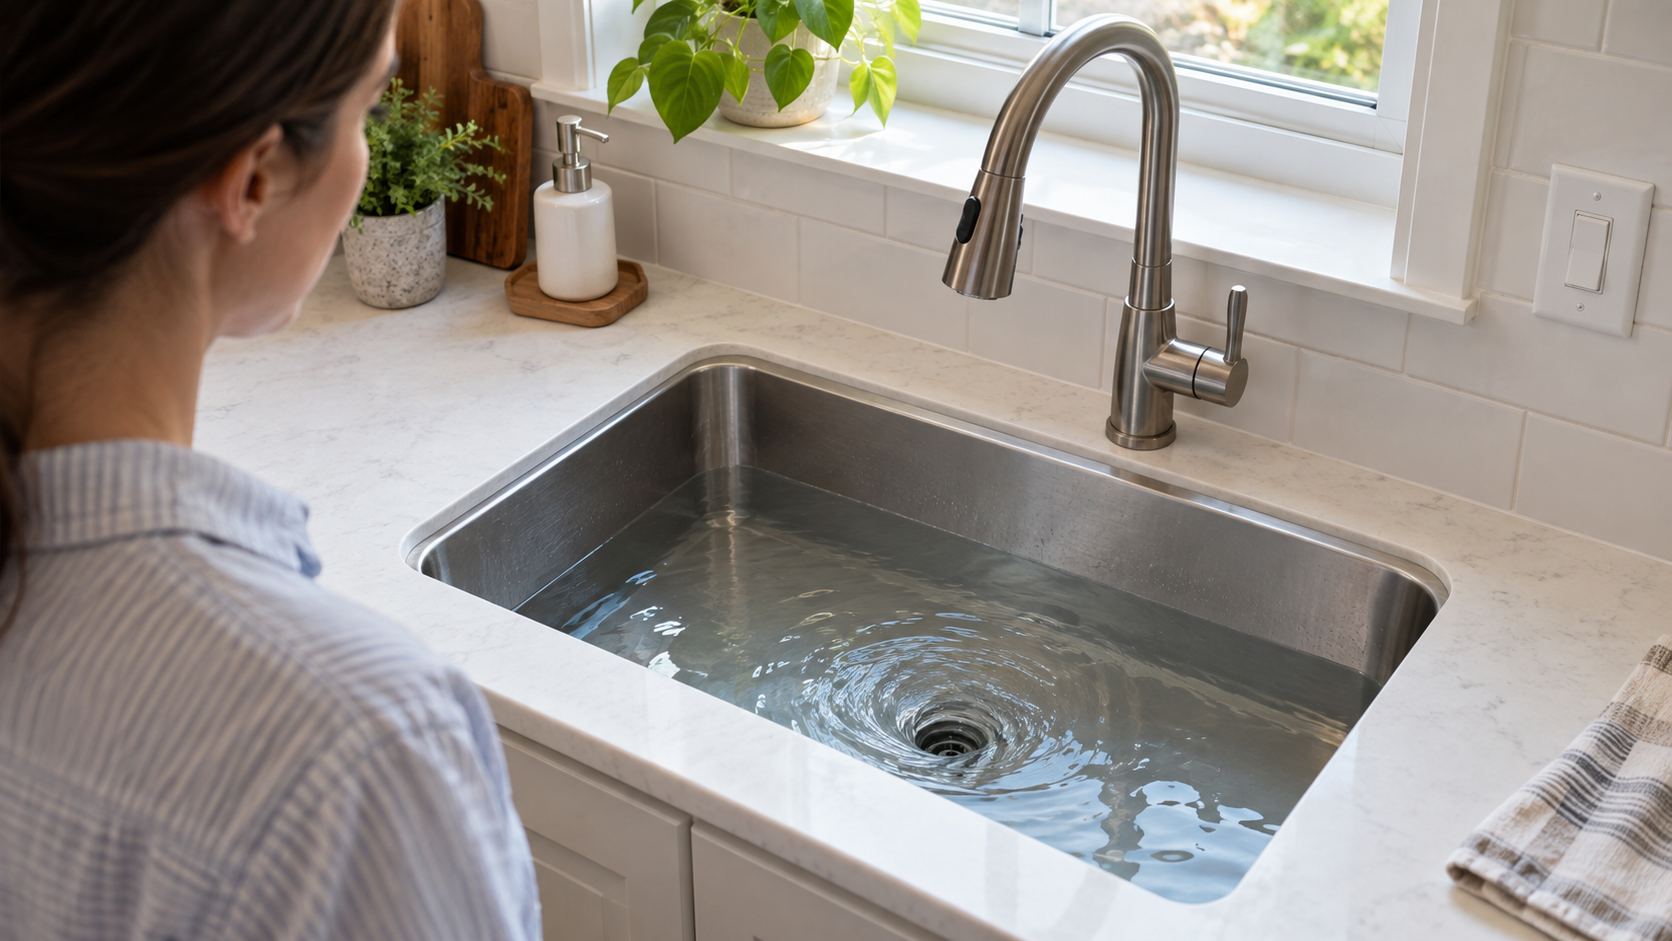
The disposer runs and the standing water forms a whirlpool: suspect a downstream drain-line clog.
The disposer runs or hums but the water does not swirl: stop; the disposer may be jammed.
The disposer is silent: stop treating this as a drain-only problem and use the no-power path.
Do not keep cycling the switch to test it. One brief observation is enough. If the sink is close to overflowing, water is leaking below, or the sound is abnormal, skip the test and call a plumber or appliance professional.
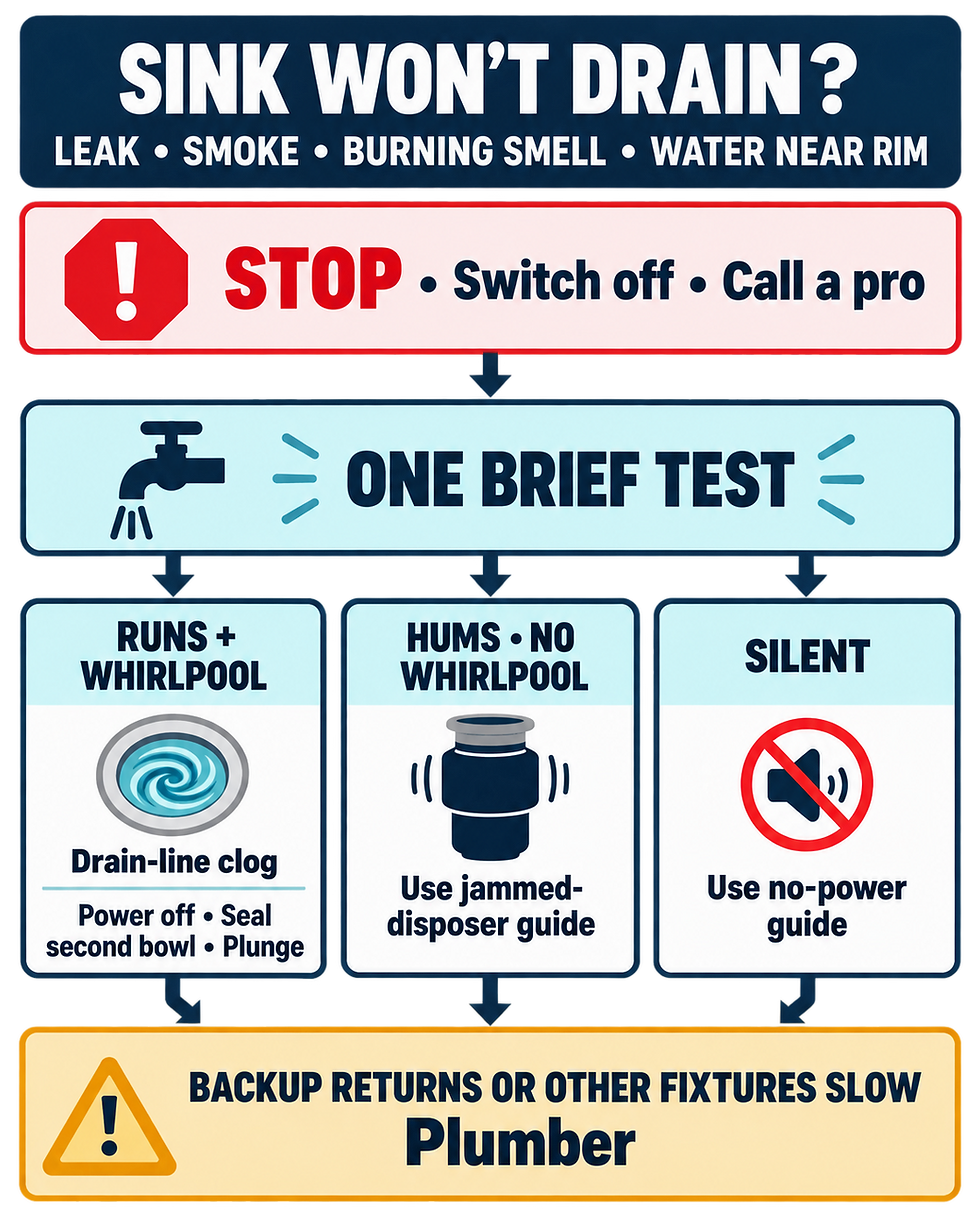
Safety boundary before any check
Never put fingers or a hand into a garbage disposal, even when the switch is off. Moen’s disposal instructions require disconnecting power before clearing a jam or removing an object. InSinkErator likewise says to keep the switch off, disconnect power for jam work, and use tongs or pliers rather than a hand.
Keep the wall switch off whenever you place a stopper or plunger over the disposer opening.
If the unit is cord-connected and the plug is dry and safely accessible, unplug it before looking into the opening.
For a hardwired unit, use only the normal labeled breaker control; never open wiring compartments or remove electrical covers.
Do not reach under the sink if the cabinet, outlet, cord, or disposer is wet.
Do not add chemical drain cleaner, mix products, or plunge a drain that already contains a drain chemical.
Stop and get professional help for a burning odor, smoke, sparks, repeated breaker or reset trips, a leaking disposer body, damaged wiring, contaminated backup, or water near electrical parts.
Step 1: Remove the overflow risk
Turn the disposer switch off. If the sink is too full to plunge safely, bail water into a bucket with a cup or small container until the level is manageable. Keep the cabinet below dry and do not loosen any plumbing.
If water is rising from another fixture, smells like sewage, or appears contaminated, stop using nearby water. That pattern can indicate a blockage beyond the kitchen sink and is not a routine disposer clog.
Step 2: Make one brief operating observation
Only when there is no leak, electrical warning, abnormal noise, or overflow risk, run a moderate stream of cold water and switch the disposer on briefly while standing clear of the opening. Watch the water surface, then switch it off.
Clear whirlpool but poor drainage: the disposer is moving water; the restriction is likely farther down the drain.
Humming, stalled sound, or no whirlpool: switch off immediately. Do not plunge while the motor is energized.
No sound: switch off. A reset, outlet, switch, or internal electrical issue may be involved.
For humming without rotation, move to Garbage Disposal Humming but Not Spinning? Clear the Jam Safely Before You Reset It.
For a completely silent unit, use Garbage Disposal Won’t Turn On? Check These 4 Safe Things Before You Call for Service.
Step 3: Plunge only the drain-clog branch
InSinkErator’s official clogged-disposal guidance recommends a plunger when the running unit creates a whirlpool. Switch the disposer off before positioning the plunger.
Single-bowl sink: center a sink plunger over the disposer opening.
Double-bowl sink: seal the other drain opening firmly with its stopper so pressure does not escape into the second bowl.
Add enough water to cover the plunger rim; InSinkErator specifies about 4 inches (10 cm).
Press down slowly and gently, then pull upward quickly. Repeat several controlled pulls.
Stop if a connection leaks, the disposer shifts, or water appears under the sink.
Do not remove the P-trap, discharge tube, dishwasher hose, disposer, or sink flange during this homeowner-level procedure. Those connections can release dirty water, leak after reassembly, or expose electrical components.
Step 4: Confirm the result without over-testing
If the water begins to drain, remove the plunger and inspect the dry cabinet below for leaks. When everything remains dry and the disposer sounds normal, restore the moderate cold-water flow and run the disposer briefly to carry loosened debris through. InSinkErator advises continuing cold water for a few seconds after grinding finishes.
If drainage remains slow, water returns, or the clog recurs, stop. Repeated plunging can shift a blockage without clearing the underlying buildup. A plumber can identify whether the restriction is in the trap, branch drain, or farther downstream.
Common misdiagnoses
A jam is not the same as a drain clog
A jam prevents the disposer’s grinding mechanism from turning normally. A drain clog allows the unit to run but blocks water after it leaves the chamber. Resetting a running disposer will not clear a downstream pipe.
A silent disposer is not proof that the sink drain is clogged
Standing water and a silent disposer may occur together, but the power problem must be addressed safely before the drain can be evaluated. Do not repeatedly press the reset button or cycle a breaker.
A dishwasher problem may share the same connection
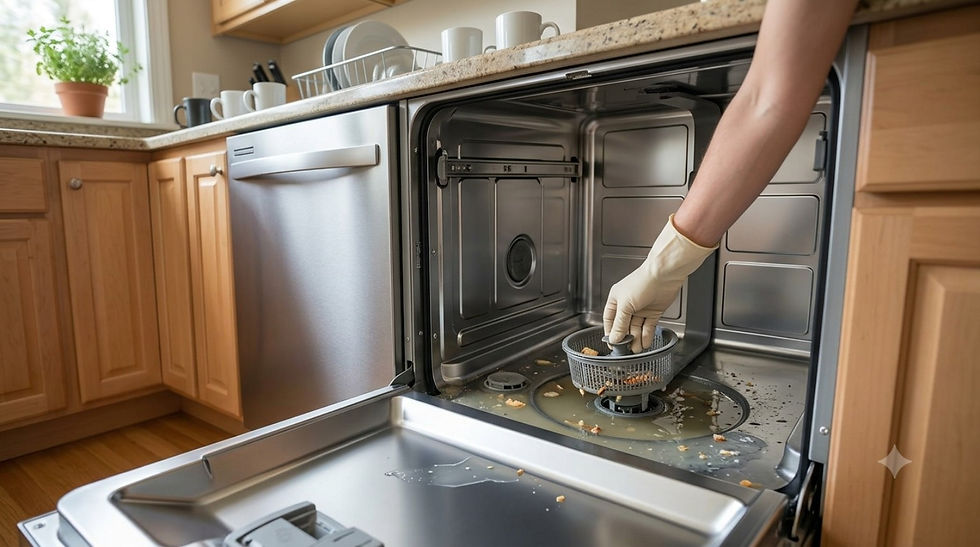
If the sink drains normally but only the dishwasher holds water, use the dishwasher-specific path. Whirlpool notes that after a new disposer installation, an unremoved dishwasher inlet knockout plug can block dishwasher drainage; that is an installation issue, not proof of a clogged sink drain.
For that separate symptom, see Dishwasher Not Draining? What to Check First.
When the pattern points beyond the disposer
Both bowls back up even though the disposer runs normally.
Water returns after plunging or drains only temporarily.
Another nearby fixture gurgles or backs up.
Several fixtures are slow or blocked.
The backup contains sewage or an unknown contaminant.
Water leaks from the disposer body, drain connections, or cabinet.
The disposer hums, trips protection, smells burned, or makes a harsh metal sound.
These signs justify a plumber, drain specialist, electrician, or appliance professional depending on the branch. Do not open the wall, snake an unknown shared line, dismantle the disposer, or work around wet electrical equipment.
Prevent the next clog
Use a moderate flow of cold water while grinding, feed only material permitted by the exact model instructions, and keep the water running briefly afterward. InSinkErator advises against putting fats or grease into either the disposer or drain. Scrape grease and unsuitable scraps into the trash or another locally approved waste stream.
A recurring clog is evidence of a drain or use-pattern problem, not a reason to run the disposer longer or add stronger chemicals.
Official sources
Disposal designs, plumbing layouts, power connections, and permitted maintenance vary by model and region. Follow the exact manufacturer instructions. This guide does not guarantee a diagnosis, successful clearing, or safe condition.


Comments